
Best Color Film For Beautiful Photographs
One of the most rewarding feelings as a color film photographer is finally seeing your film after sending it out to be developed. The anticipation kills me every time. Sometimes I send out as many as ten rolls, not knowing what each roll contains, and coming back surprised.
If you are interested (or a beginner) in film photography, this is your sign to pick a film camera and get started! Any 35mm camera will do to begin your color film journey. My favorite starter cameras are the Pentax K1000 or Nikon N65 (if you want something with more automatic settings).
Now that you have your camera, have you ever thought about how we got to the photography we experience today? Many of us take for granted the fact that we see color in our photographs. But the history of how color film came about was a very long process. It took many inventors and visionaries to figure out how to bring the colors we see in reality to a photograph.
Interested in Fashion Photography? Discover my favorite film stocks I use with fashion brands!
The History of Color Film
When was color photography first invented?
Color first appeared in photographs through hand-coloring around 1851. Photographers hired trained painters to paint their black-and-white images. A valuable aspect of this collaboration was that it employed painters at a time when they felt threatened by photography. However, this process didn’t completely satisfy consumers. The colors were far from accurate and couldn’t depict the true colors of nature that everyone desired.
About a decade later, in 1861, physicist James Clark Maxwell ran an experiment to show that you could create all colors from a mixture of red, green, and blue light. He would make three lantern slides, each equipped with the same color filter he created the image from. Superimposed together, they make a recognizable reproduction of what one sees through the camera.
Not long after, Louis Ducos du Hauron came into the picture. He created a method that combined colored pigments instead of light. Using three black and white negatives, Hauron made three images taken through a red, green, and blue filter. He would then dye them separately in the same color. When combined, they would create a color photograph. This method led the way to the current idea of color processes.
In the 1890s, the first process of color photography based on Maxwell’s theory came about called Autochrome. Invented by brothers Auguste and Louis Lumiere, this process combined the filter screens (red, green, and blue) and emulsion on the same glass support. Before, those two processes were kept separate. It became the first usable and commercially successful screen process. Autochrome plates were very simple to use, however, exposure times were substantially long. On bright, sunny days exposure times would still be at least one second long, and on cloudy days, around 10 seconds or more. Even in well-lit studios, the subject could be sitting for at least 30 seconds.
After Autochrome, many other types of processes followed. A notable film process that gained popularity was Dufaycolor. It first appeared in 1932 as a 16mm cine film and then in 1935 as a roll film. Unlike Autochrome, Dufaycolor appealed to consumers for its fast exposure times and the ability to capture that snapshot moment. It was one of the last screen processes and remained on the market until 1951.
At this point, all of the color processes were additive. Meaning it relied on adding together red, green, and blue light. However, the film we know and use today uses a subtractive color process, adding cyan, magenta, and yellow together. Invented by Louis Ducos du Hauron, his process used colored dyes or pigments rather than filters. The colors cyan, magenta, and yellow absorb one of the primary colors (red, green, and blue). Cyan absorbs red light, reflecting a mixture of blue and green light, while magenta absorbs green light and yellow absorbs blue light. By superimposing these three complementary colors, Hauron achieved accurately represented colors. This process removed the long exposure times and dense transparencies used in the additive process.
Around the early 1920s, we started to get closer to current-day color film: Kodachrome. Invented by Leopold Mannes and Leopold Godowsky (with the help of Kodak director Dr. C.E. Kenneth Mees), Kodachrome essentially was a black-and-white film where color dyes were added during the development process. Though this brought us closer to the final solution, the development process was pervasive and took 28 stages of development, dying, and bleaching. So though it was a big step for color film, it was not quite there.
Finally, we arrive at one of our final processes: Agfacolor-Neu. Created in 1936 by the German company Agfa, it anchored the color couplers to the individual emulsion layers of the film. This process allowed for home processing, unlike Kodachrome. The details of this color photographic process became widely available after WWII. Other photography companies obtained them, creating their versions of the film process. With the perfection of dye-based multi-layer color films, a brand-new era of color photography came about. This process has developed into what we see today.
You can read more in-depth about color film history here
Color Film Today
Present day, there are many different types of color film to choose from with exceptional quality. Film also comes in various formats, including 35mm, 120 film, 4x5 sheet film, 8x10 sheet film, and a few other obscure sizes. With so many film options available, selecting which one fits your style can be difficult. Throughout my photography career, I have used a variety of color film stocks.
Below are my top 5 color film stocks on the market that I think you should use.
But first…what does 35mm, 120, and 4x5 mean?
35mm film:
35mm film is also called 135 film, as 135 was the product number assigned by Kodak to designate this film. Coincidentally the film is also 35 millimeters wide, hence why so many call it 35mm film. It is a common type of roll film widely used by hobbyists and emerging and professional photographers. 35mm film is the standard for film photography.
120 film:
Also called medium format, 120 film is similar to 35mm but bigger. The "120" refers to the numbering system used by Kodak when they introduced the format, meaning it was the 20th daylight-loading roll film they produced, not the actual width of the film which is around 6cm (not 120mm). I honestly didn’t know this for most of my career! This film is more widely used by emerging and professional photographers and offers finer grain, sharper images, and more information. A larger film size allows your photograph to accept more information and light.
4x5 sheet film:
4x5 sheet film, and other large format films, differ from 35mm and 120 film. While the other two are on rolls, large format film (4x5 and 8x10 most commonly used) comes in sheets. Meaning, that every image has to be loaded into the camera versus being able to shoot consistently on a roll. The benefit of this film is that it offers a remarkable amount of detail and sharpness to images. With the film being 4x5 inches, you get a considerably larger image. While this format is not the most popular among mainstream photographers, many fine art professionals and emerging photographers (like me) still photograph with it.
Top 5 Color Negative Films To Try Today:
Note: All photographic examples below are mine! You can check out my work here
5. Fujifilm Superia 400 (35mm)

Fujifilm Superia 400 is a classic film found in any drug store and is an excellent all-purpose film. Superia is a fine-grain daylight film, offering adequate detail, lovely contrast, and vivid color to your photographs. This film loves to emphasize yellow, green, and red hues in your image, so photographing in natural light can amplify the characteristics of this film. One personal downside I have is its accuracy with skin tone. I found that skin tones can give off a yellowish or magenta hue, especially with lighter skin. While it's not the worst option for portraits, it's not my top pick. I prefer this film for street photography or environmental/nature images.


Buy Below
4. Lomography 100 (35mm, 120 film)

This film brings you back in time, giving feelings of nostalgia with its vintage-like warm tones and good contrast. I found that Lomography 100 gave beautifully saturated photographs with a retro-styled tonality. This film is perfect for when you want those filter-like travel pictures or toy camera-type aesthetics. I took this film on a road trip in 2017 to see the Solar Eclipse in North Carolina and was in awe of how captivating the images came out. Lomography does best in bright light, but be careful overexposing the highlights too much.
The grain on this film is a little more coarse than expected for a 100 ISO film, but for it being a lower-cost film, I didn’t mind. I wouldn’t suggest this for large landscapes or wide-angle images, but it does well for street photography and unique-looking portraits.


Buy Below
3. Kodak Ektar 100 (35mm, 120 film, 4x5)

Kodak Ektar 100 is a low ISO color film that delivers high contrast and vibrant images. This film offers ultra-fine grain that even gives 35mm quite some detail. You can clearly see the details in landscapes and portraits look very sharp. Ektar 100 delivers a punch of color, so for those who don’t like very saturated images, this may not be the film for you. It produces cool-toned photographs: giving shadows a blueish/green tint and tends to pick up red tones, which can be a problem when photographing portraits. Nevertheless, the detail this film delivers overshadows the color casts (which can be easily adjusted in Photoshop anyway). Overall this film is a worthwhile option for anyone looking for cool-toned, saturated images with sharp detail.


Buy Below
2. Kodak Portra 160 (35mm, 120 film, 4x5)

Kodak Portra 160 is usually the film I use for almost all of my photographic work (primarily because my number one choice does not make 4x5 sheet film). This film beautifully renders skin tones and gives an almost perfect depiction of color and light. It is no wonder why this is a favorite among many professional photographers. Kodak Portra 160 gives you a super fine grain with beautiful tonality and detail. However, compared to my #1 choice, this film is a little more on the cooler side, but it has not failed me yet. It is an excellent color film stock for portraits and landscapes. The main downside to Portra is its price point. As a pro film stock, it is more expensive, so it can be challenging to use it exclusively. Especially with the announcement about raising Kodak film prices in March 2023. However, for a professional film photographer, it does a beautiful job and is a top color film for Kodak.


Buy Below
1. Kodak Gold 200 (35mm & 120 film)

Coming in at number one, I have Kodak Gold 200. This film is the perfect balance of warm tones and saturation. Though it may not be as color-accurate as Kodak Portra 160, it handles skin tones beautifully - and I would say it does a slightly better job on darker skin tones.

Historically color film was color calibrated for white/lighter skin tones. Kodak Gold, however, was made to render darker tones, although it didn't come about in the way you may think. Kodak Gold was created to photograph the darker wood grains for furniture stores and chocolate types for chocolate factories. So coincidentally, it also became a film that renders darker skin tones exquisitely and, because of that, was pushed as a consumer film. Because of its better depiction of various skin tones, I find that it offers finer tonality when I'm making portraits.
Kodak Gold also lives up to the gold in its name. All my images have this glow to them. Even when photographing during the winter, this film gives the feeling of warmth.
Kodak Gold 200 offers a suitable alternative to Kodak Portra 160, being substantially cheaper and offering a slightly more vibrant and warmer look. If you prefer more natural/cool tones, I would lead you more toward Portra or Ektar. Overall I love Kodak Gold (hence why it's my number one). I only wish this film had a finer grain option like 100 or 160 and for Kodak to make a 4x5 large format film stock. Until then, I'll be using its 35mm and medium format film.


Buy Below
Honorable Mentions:
Kodak Portra 400
If you love Kodak 160 but need a little faster exposure for low light: this film is perfect. Even at 400 ISO, you still obtain a great, fine-grain film! The only downside is it is a bit more expensive than Portra 160 film (and most other types of film stock). So it isn't ideal for those on a budget.


2. Kodak Ultramax 400
Another great film you can find at your local drugstore. Perfect for those trying to capture memories or experiment with color film for the first time without spending too much! Compared to Portra, you save about $6 per roll of 35mm.

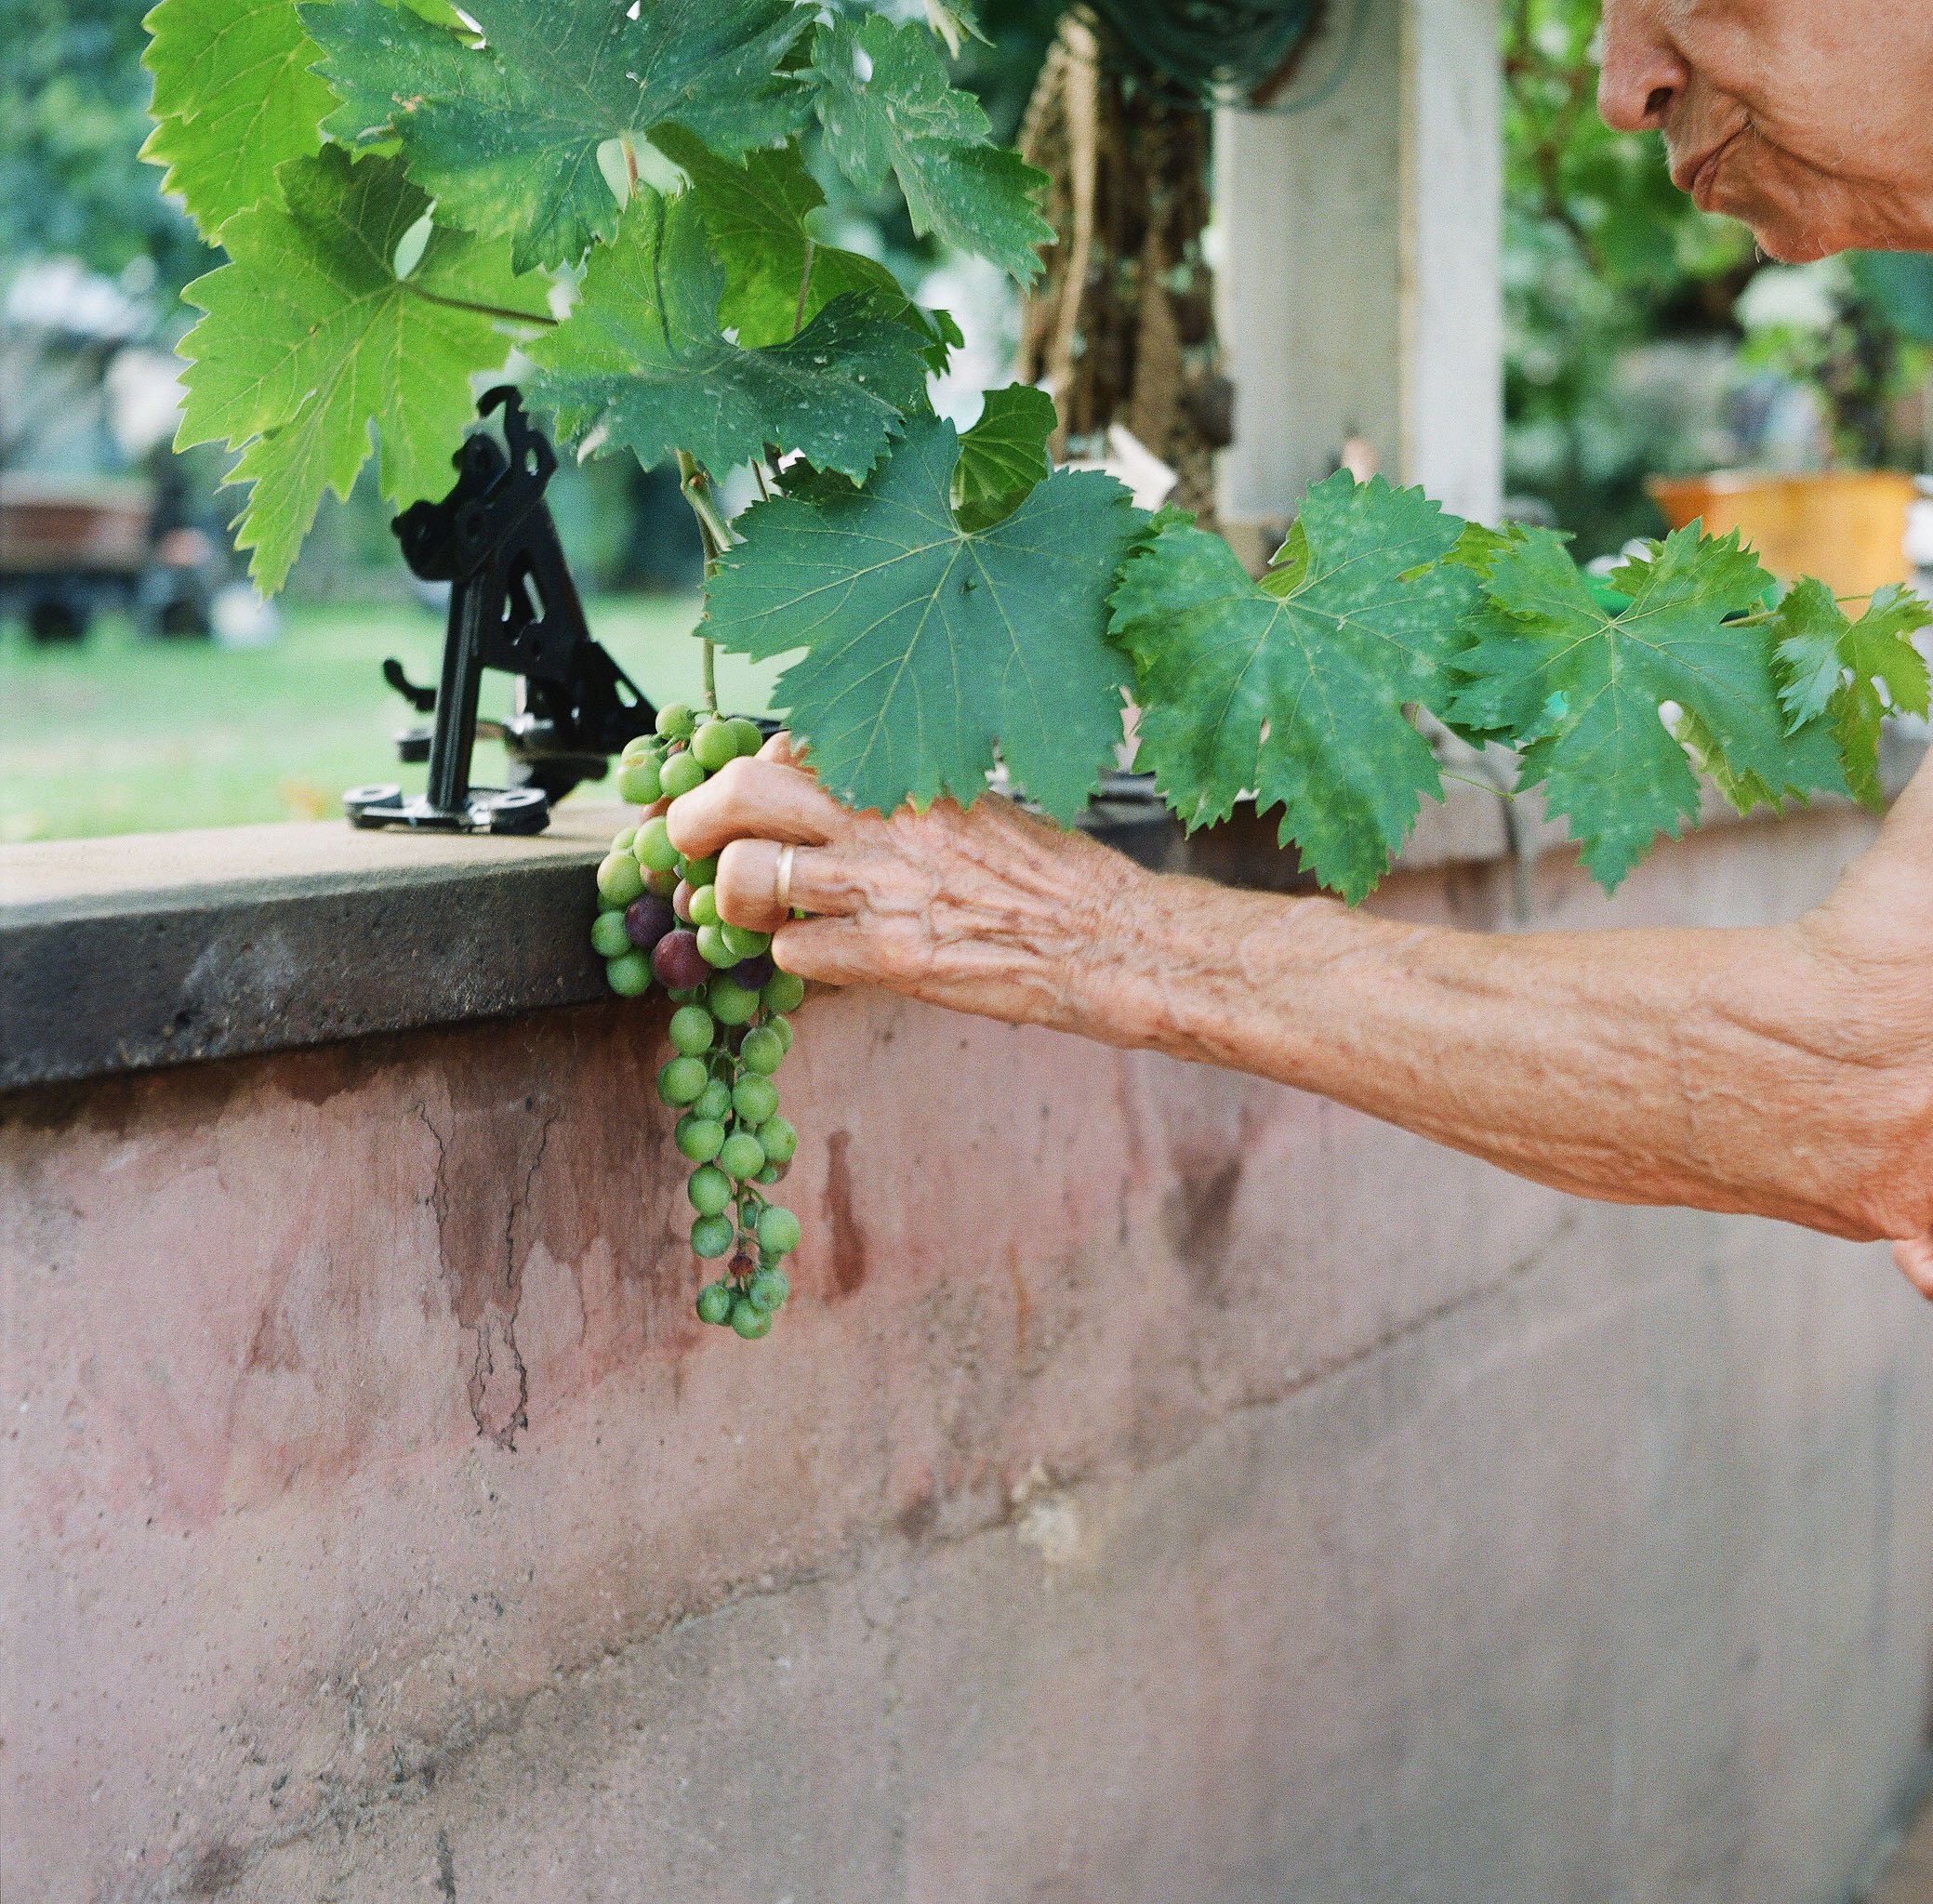
3. Cinestill 50D
I haven’t used this film yet, but I have heard positive things about it. From what I’ve seen, it does a lovely job. Besides a slightly greenish hue, it offers beautiful color and fine grain. It does best in full sun since it is only a 50 ISO film and there may be some complications/underexposure when shooting inside or on cloudy days. Some suggest pushing Cinestill 50D to 200 ISO when shooting in lower light conditions. I can't wait to try it out for you all!

What to consider when selecting the best color film for you
Whether you are just starting in film or looking to switch up the film you use, figuring out what kind of color film you want can be a challenge. But there is no correct answer!
Do you want a low or high ASA/ISO? (A lower ASA means sharper grain, but you will need more light)
Do you want warmer or cooler undertones?
Is cost a factor?
What format will you be shooting in? (Not all film comes in every format, but all come in 35mm)
If cost is a factor, I suggest looking at some lower-cost films (like Kodak Gold or Fuji Superia). Then you can research which film gives warmer or cooler images and decide what you like from there.
However, the best way to find the most suitable film for you is to experiment. When I first started, I would order a bunch of random film from Amazon or B&H Photo and see what came out. That is how I found which film stocks I liked and could see the differences myself! Because even as I show my images to you, some are edited or slightly color-corrected. Seeing it for yourself is the only and most fun way to determine what color film stock best works for you.
Now get going on making some color film images! And if you share your photographs on Instagram, tag me in the comments so I can check them out!
This blog is fully written and run by photographer Caterina Maina. If you like what you read, please leave a comment, like, and/or share it on your social media! All photographs are taken by Caterina Maina Photography and are subject to copyright
And if you have any questions, suggestions on topics, or an interesting exhibition Caterina should check out please feel free to leave them in the comments or email her at caterinamainaphotography@gmail.com!
Some of the links in this article will direct users to our affiliates at Blick, Amazon, Adobe Creative Cloud, and Red River Catalog. By purchasing anything using these links, Caterina may receive a small commission at no additional charge to you. This helps her produce content and continue her creative endeavors. Many thanks for your support. She will never share or promote something she does not 100% recommend. And if you want to support in any other way you can click on the button below! <3
